Tuesday, 20 August 2013

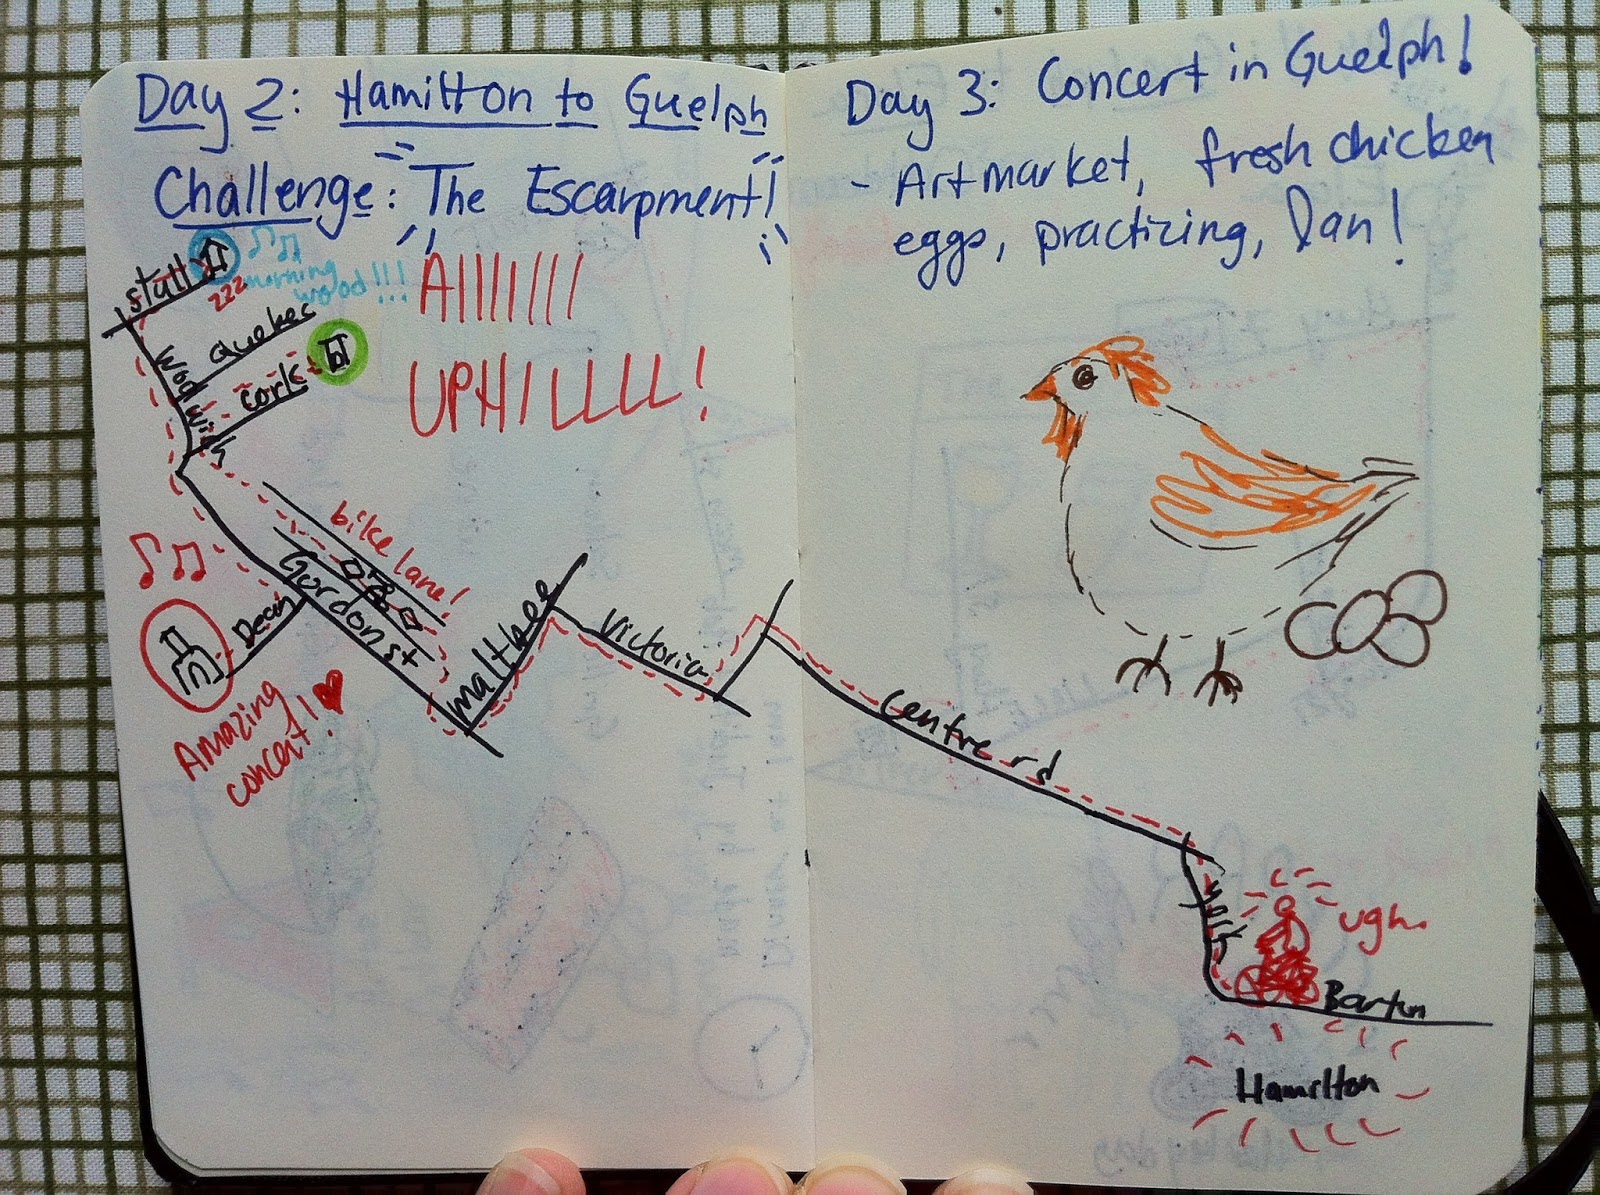
Bike Tour- Day 2+3: Hamilton to Guelph, Concert in Guelph


We couldn't have asked for a more beautiful day!

Relaxing at our wonderful billet's house.

Squeaking in a cheeky practice session.


Monday, 19 August 2013

Bike Tour- Toronto to Hamilton

I'm going to let you in on a little secret! Well, not really a secret, but it is little. Throughout the bike tour, I carried with me the smallest moleskin notebook to keep track of our adventures. I will be sharing each day of the tour with you... every day! So make sure to check this blog daily :)


Sunday, 18 August 2013

Bike Tour!

Last month I embarked on a journey around South-West Ontario with a group of four opera singers, and pianists, and a violinist. We were all on bikes. We performed fifteen concerts of new Canadian opera scenes in a huge variety of locations to so many different audiences. The next few posts on this blog will be pictures from my trip!
Everyone on the ferry to our Toronto Island show!

All our bikes on the ferry

I wish I could have toured on this bike! (heh)

I was so excited the night before we actually left on our tour, that I took a bunch of silly pictures. Like me in my new bike shorts!

And these silly socks!

I turned on all the lights on my bike and we had a dance party!
A huge shout-out to Down to Earth in Lindsay for selling me this bike! It's the Trek 7.2 FX WSD. I do believe I was the only one on the whole tour who never experienced any bike problems whatsoever! Thanks Ian and Sandra!

Tuesday, 6 August 2013

Concert Blacks

Concert blacks! That may sound like a strange term to some of you. To those of you familiar with "concert blacks" or "long blacks" or "new music black", it is more common than "business casual" or "semi-formal". It is a musician's uniform. 
I took these pictures of my concert-wear for the first two Toronto performances of the Bicycle Opera Project. (there was no point photographing my blacks for the rest of the tour, since I could only carry one outfit for all 14 concerts!)

Found sunglasses, self-made necklace, black dress from Romwe.com


Hand-me-down black H&M top, Ardene skirt. I'm making a silly face and lifting up my skirt to show you that I'm wearing shorts underneath the skirt, since I was biking to the show. I love being able to bike to nearly everything. It's so much more predictable than public transit, so I can always be on time/early!

Saturday, 3 August 2013

Breezy Tank Top From Scratch (How I did it)

Hello friends! Happy mid-summer!

I've been sitting on these photos for a while, and I finally got the chance to stick them all in a blog post. I recently got back from a 2.5 week bike/concert tour, and was pretty slammed with rehearsals the few weeks leading up to that. But I did manage to make a shirt! I will be posting the photo first, and then describing it in the caption below.

This is a photo of the finished product! It doesn't fit absolutely perfectly, but since I now have a pattern, I can change it around so the next one I make will be perfect.

I have a pack of pattern paper I found in my mom's basement. If you don't have some, use tissue paper or butcher paper or any sort of large sheet of paper-like stuff. I made this pattern by tracing a couple of tops, and eyeballing it. I have read some great "make your own pattern" blogs, and the key to a good pattern is copying a really great top you already own. I don't own any tops that were the right shape that I was going for, so I had to improvise a bit.

Here are both the back and front pieces. I decided to use up some cotton that doesn't stretch, so I made the top extra breezy and decided to add a little "keyhole" opening at the top of the back (top left corner!)

I pinned both the front and the back to the fold, and cut them out!

Since my fabric is very sheer, I cut out a lining of the same pieces from white broadcloth.

With right sides together, I sewed both side seams and but NOT shoulders.

I then nestled the lining into the outside, right sides together.

I then sewed along the arm holes, and the front and back necklines, being careful around the "keyhole" back. I trimmed the extra fabric from those curvy lines, and then folded the whole thing the right way around, using my scissors to help pop the corners out.

I saved the shoulders for last. I folded under a bit of the raw edge of the front shoulder, and then stuck the back shoulder into it.

And then I sewed it all up. 

This is the hem. It was most annoying, but I got through it and it's done. I hemmed the white lining as well.

Here it is! I didn't take a picture, but I added a button and a loop at the top of the keyhole back to keep it on!

Nice!